Showing posts with label sewing. Show all posts

Thursday, August 7, 2008

shaggy quilt

i feel like its been a while since i posted a craft project so i though i would share one of my most favorite completed projects. i made this quilt like five years ago, and its still my "go-to" blanket. its all warm and snuggly so its perfect for napping on the couch, and its thick so its also perfect for taking to the park to sit on.


it was my first quilting project, and so far has been my only large scale quilting project. however, i use the term "quilting" in the loosest possible sense. i mean, technically it IS quilted, but its way too easy to be real quilting (a craft which awes and terrifies me at the same time)

here is the basic instructions for a shaggy quilt. there is probably a more official name for these, but it looks shaggy to me. and maybe no one is interested in how to make their own, but just in case, i thought i'd share.

i made a throw that turned out roughly 49" x 63" but you could theoretically adjust the size by adding rows/columns of squares. i'm bad at numbers though, so you'll have to calculate the yardage for different sizes on your own.

start by getting 5/8 yard of 18 different fabrics. i used flannel, which greatly increases the snuggliness factor. you could use whatever you want, provided that it will fray. if finding 18 fabrics you like seems daunting, you could also get 1 and 1/4 yard of 9 fabrics. whatever floats your boat... its your blanket. you'll need a bunch of batting too, and some coordinating thread and such. a walking foot would probably be helpful but i'll be honest, back when i made this i didn't even know what a walking foot was and mine turned out fine so that's up to you.

once you have all your fabric, you will need to cut 64 squares that are 9" x 9" and 248 squares that are 5 & 1/2" x 5 & 1/2." if you don't have a quilter's ruler and rotary cutter, i highly recommend them at this point. the easiest way to do it is to by cutting one 9" strip and two 5 & 1/2" strips from each of the eighteen fabrics and then cut those into squares. (double the number of strips if you are only using 9 fabrics). from the batting you will need 32 squares that are 6 & 3/4" by 6 & 3/4" and 124 squares that are 3 & 1/4" by 3 & 1/4." i'm not going to lie. cutting the squares takes for-freaking-ever.

once you have everything cut, make little sandwiches with your fabric and batting. the fabric should be RIGHT SIDES OUT with the batting in the middle. in other words, lay one square down with the wrong side facing up and center a piece of batting in the middle (use the larger batting squares with the large fabric squares... obviously). then lay a second fabric square on top of the batting with the right side up. pin.

i suggest pinning allllllll of your square sandwiches together and then chain sewing. if you aren't familiar with chain sewing (i wasn't prior to this, but learned quickly) it means that you just sew one piece after another without cutting the thread so that when you are done you have a long chain of pieces that just need cut apart. you will be sewing diagonally from corner to corner, first one way, then the other to make an X. so chain sew them all in one direction, then cut them apart, switch and go the other direction. i marked where i was going to sew with a pencil just to make sure i actually made it to the opposite corner. if you feel brave, feel free to do without. in the end you'll have a little mini quilt that looks a bit like this... (or it would if you were quilting in MSPaint)
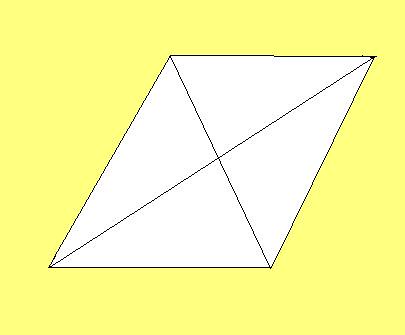
this is apparently an angled view.
not sure why i didn't just make it square...

once all your squares are quilted, its time to put them together. SEAM ALLOWANCES ARE 1"!! you should have 32 large quilted sandwiches and 124 small ones. divide all your little sandwiches up into pairs and pin them together. at this point there isn't really a right or wrong side, so just pin them as you may. chain piece them together so you have 62 pairs sewn together. press or pin your seams open. i know, its a lot of seams... they just keep adding up.

once that's done, pair up your pairs to make a large square consisting of four small ones. when you pin them together, make sure that you put the sides WITHOUT the seam allowances together. you want all your seam allowances on the same side of the quilt.

now you should have 31 large squares made up of smaller squares, and 32 large single squares. at this point, you can lay them all out to be make sure you are happy with the color layout, or you can just wing it and keep sewing shit together. that was my approach and it turned out just fine, but again, its your blanket. it may help to lay them out before you pin them together, just to make sure you've got it right, but whether or not you stress over color placement is up to you.
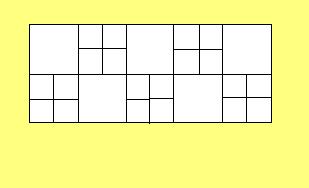
obviously you will have more squares, but MSPaint was proving
too difficult for me. so the example is a mini version.

sew seven squares into a long row of alternating single and composite squares. you should have FIVE rows that begin and end with a single large square and FOUR rows that begin and end with a composite square. sew all of the rows together. try to line up your seams, obviously, but don't stress too much if they aren't perfect. i promise no one will ever notice. and (almost) lastly, sew all the way around the quilt 1" in from the edge. that does it for the sewing part.

at this point, you're probably going to want to take a break. maybe have a drink... not too stiff though, you're going to need to wield a pair of scissors for the next step. now you have to cut the seam allowances into a fringe. make your cuts roughly a half inch apart, but no ones ever going to measure them, so you are free to guess-timate. cut perpendicular to the seam but make sure you don't snip the thread itself. otherwise the quilting police will kill you. or your blocks will come apart. whatever.

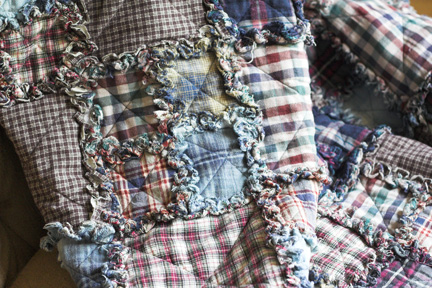
The very last step is putting your quilt in the washer/dryer to fray the fringe. this makes for a TON of lint, so i suggest taking to the laundromat if you don't think your washer can handle it.

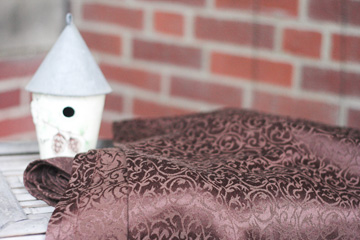
and you end up with sometime all snuggly and worn-looking. like this.
Friday, July 18, 2008

Crafty bags

I still have a back log of stuff that I want to post about, but considering I have spent more time in one pharmacy or another than I have at home this week, finding time to blog has been difficult. My loooong week was brightened today, however, when a very sweet gentlemen attempted to set me up with his friend. This friend, who was sitting in the passenger seat (gotta love a pharmacy with a drive-thru...) seemed a bit mortified, but its the thought that counts. right??

Coming up in the near future are some crafting projects complete with instructions, possibly some wedding goodies, and another photo post. I'm sure you all can hardly wait. Until the next photography post, you may want to check out another beginner tutorial I stumbled onto yesterday. You can find it here and though she's only a few posts in, its pretty good. She gives out homework assignments, so its more involved; but I imagine that probably helps a lot with the learning process.

Anyway, this post involves the mystery project from a few weeks ago, and the fabric goodies i got in the mail several months ago. And, now that both of my Pay it Forward recipients have received their gifts, I can blog about them.

This is the Charlie pattern from Burda Style. Its a free downloadable pattern and its so easy to make, its ridiculous! Each one took me maybe an hour... well, minus the all the ripping I had to do on the first one because I got a little gung-ho and accidentally stitched my bag shut. But, I mean, besides that its great.


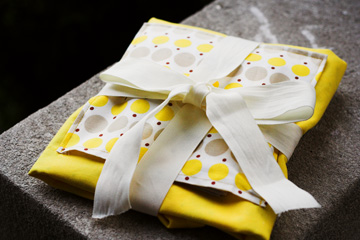
The yellow one turned out to be my favorite one of all. The fabrics worked perfectly together. Along with a set of notecards, it went to live happily ever after at Jenny's house.


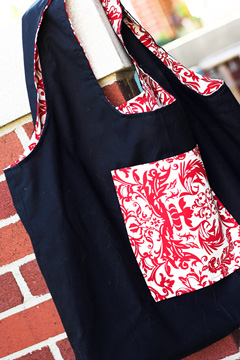
This one went to live in Minnesota at Nuttnbunny's house. FedEx tells me it was delivered but I haven't heard from her. I really hope she likes it (and the notecards). The red looks neon in this picture but it wasn't really that bright... I don't think anyway.


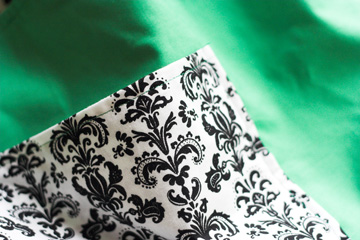
And this one stayed with me. I've developed a fondness for these types of patterns, and since I can't seem to pass up anything green it only seemed natural that I keep this one. It makes a fantastic knitting tote.

Friday, July 4, 2008

Holy Craft!

Or "my wedding box just threw up all over my dining room!"

I have been a crafting maniac the last few days. Crossed off the "List of Shit that must be done before we take a load of wedding junk to NY in July" (yes, the list title is longer than the list)

1. Made three table runners, ten feet long by 15 inches wide. For the cake table, the guestbook table, and the gift table. The pinning took FOREVER. On the other hand, I am now excellent at sewing in a straight line.


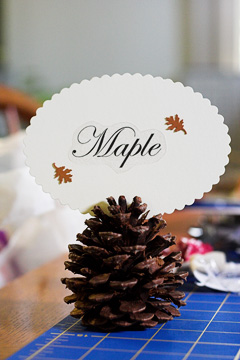
2. Table signs... I still haven't decided if we're going to assign seating or not. Seems like a lot of extra hassle, so we may just reserve a few in the front for our immediate family and the families/significant others of the party. They are all trees, you know with the whole fall leaf thing we have going on, however, there is a Pansy table for anyone who might be concerned.


3. Reserved signs for the front few pews.


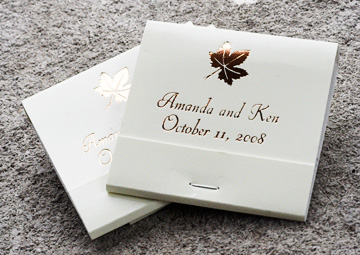
4. Matchbook favors. Ok, I so I didn't exactly craft these, but we did have to select the little clip-art decoration for the top. The leaf and writing are a metallic copper. We figured if we were going to have sparklers, it would probably be a good idea to have some way to light them. And as far as favors go, these were far less expensive than most.


5. Corn-hole boards. I don't have a picture of them, but I painted the boards and sewed three sets of corn-bags. The boards need another coat, but considering its raining (AGAIN) it will likely be a while before they get one. I wasn't sure how to paint them, and all red (as is the standard here in OSU country) seemed like an awful lot of red. I ended up getting an off white as the base color and a nice red to put something else on there. Will probably leave them plain for the reception though.

For those of you feeling skeptical, I have come across a number of brides who had corn-hole and other games at their receptions... the way i see it, i bet we have more people playing corn-hole than we do dancing. and those boards are way cheaper than the DJ. For those of you thinking "what the holy-hell is corn-hole?" its sort of like bean bag toss, but usually with more beer involved.

Thursday, June 12, 2008

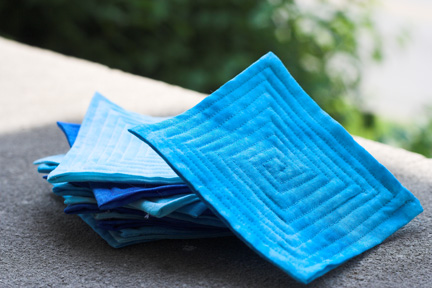
quilted coasters

the project in which my sewing machine got cranky and spewed pieces at me. then promptly stopped working. permanently.


i am a collector of pretty things. i love craft books with pretty pictures and patterns. i collect them, with the intent to make pretty things, but end up with far more patterns than any one person could every make (except maybe jenny, who is the most prolific crafter i have ever seen)

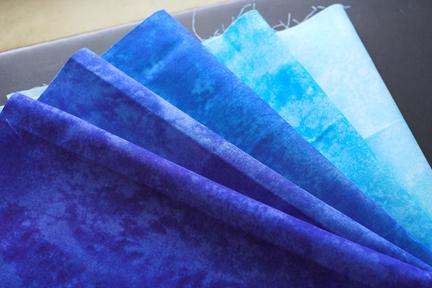
but its not just books, its yarns and fabrics too. right now my yarn stash far outweighs my fabric stash, but i have collected a considerable stack of fat quarters recently. this fabric came all bundled up, a stack of blue batik-y fabrics all folded and tied with a pretty blue ribbon. seriously, whoever the person is that thought "lets bundle up all these scraps and tie them together and see if we can convince people to buy them" was a GENIUS. or i'm a sucker. whatever.


these coasters are a super quick and easy pattern from Last Minute Patchwork + Quilted Gifts. there are five colors, and i got five coasters out of each. so if any one wants some blue coasters, let me know. i've got a bazillion. I've also got some more neutral fabrics in browns, yellows, and greens that will better match our decor. i thought these would make a good practice set, but as it turns out, they're so easy that even the practice ones are pretty nice.


on the topic of my sewing machine, my four year old low-end brother machine bit the dust. it all happened so fast, but i think the foot caught and bent (or something) and all i know is the needle hit something it wasn't supposed to and it snapped it half and several integral bits that attach both foot and needle to the machine went skittering off under various pieces of furniture. i could probably be repaired, but for more than i paid for the machine. so dr. z went and got me a new machine today... what an awesome guy, eh? went all by himself to get a sewing machine.

Saturday, December 22, 2007

wedding crafting

this christmas break has actually been fairly productive in terms of craftiness. i've managed to knock out a few of the wedding crafts that have been on my to do list. not that there was any huge rush, the planning is coming along well and we have more than ten months yet. but i am sure as the time draws nearer, i will be more thankful for everything i got done in advance. here is some of what i have done so far.


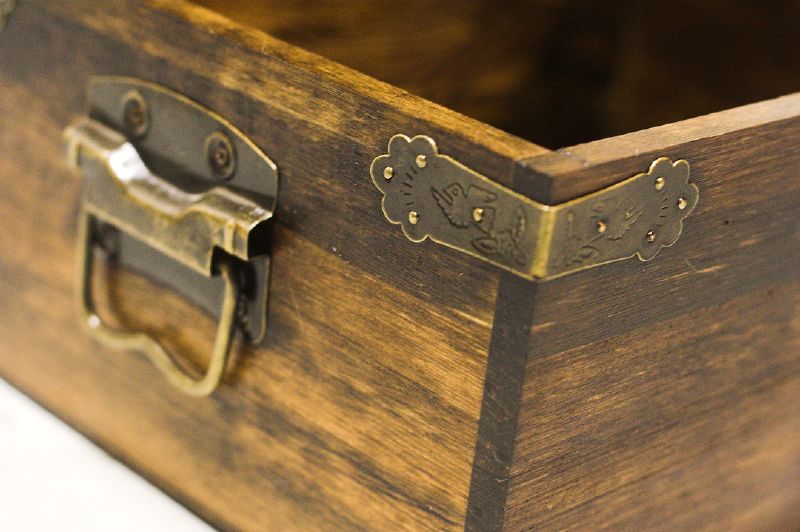
isn't this the cutest little detail?? i love it.


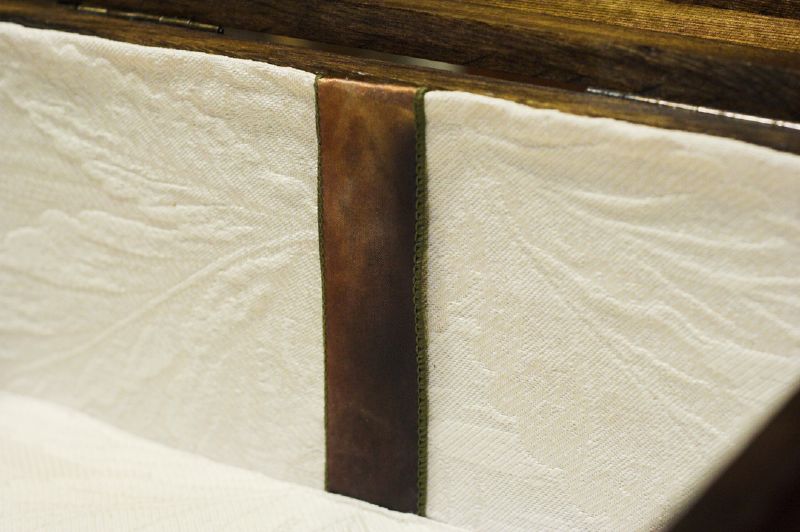
this is the chest for holding cards at the reception. we were going to try to find a way to get a slot in the top to drop them in, but i felt like that would ruin it. this was 20$ for the unfinished trunk at JoAnns. the rest was pretty much a scavenger project. i used some stain and polyurethane i had sitting around from another old project. the lining and ribbon were just some random stuff my grandma and mom had given me but i think it worked out perfectly. the fabric even has a leaf pattern on it, which is fitting for the 'theme.'


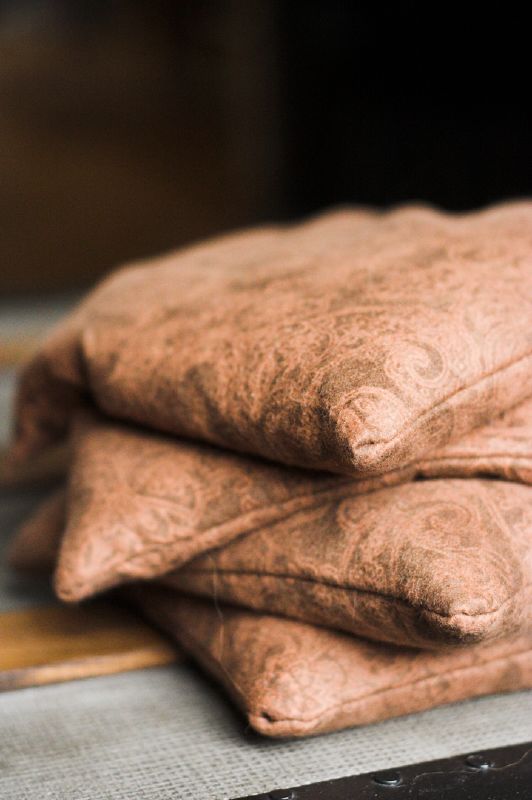
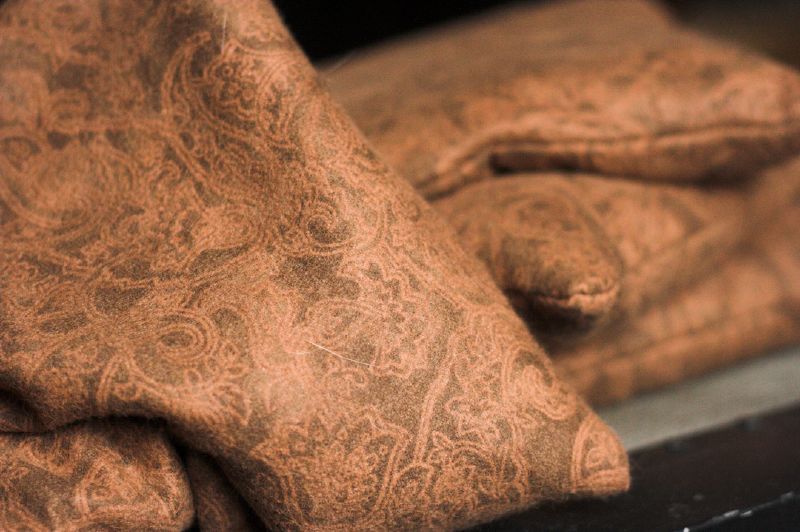
these are the corn sacs. they are going to be part of the bridesmaids' gift baskets. if you have never used a corn sac, they are the most wonderful heating pads ever. just pop them in the microwave for a few minutes and they stay warm forever. these are really pretty brown flannel with an orange paisley pattern that seems perfectly fallish. i kind of wish i had enough fabric to make one for myself. they are approximately 8 inches square and i just poured the corn in until they felt about right.

i also started yet another knitting project. inspired by dr. d's koolhaas hat, i have started one for my own mr. z. i found some Reynold's Whiskey at the Yarn Shop and i'm using that held double. at the point i have just finished the ribbing around the bottom. i figure i can probably finish it on the drive home to ny tomorrow and then get back to work on the wrap and pinwheel sweater.

and on a completely unrelated note, i had quite a good run yesterday. i managed to go for about 43 minutes and felt good the whole time. mr. z is trying to encourage me back into my running routine by promising a leg massage if i run today. maybe this afternoon. but first i have an outing with ashley to check out Wholly Craft, which sounds far more entertaining than running. supposedly its like an etsy store... but in a real store. should be fun.