So we ended last time saying that you can't just run around changing your aperture willy-nilly. Well, I mean, you can... its your camera, you can do whatever the heck you want. but if you're going for a certain look, you can't. Why not? Because, aperture controls the "depth-of-field" in a photograph, and along with that, the bokeh.
Depth-of-field (or DoF from here on out) refers to how much of the photograph is in focus. When you focus on a certain object or area, there is a range both in front of and behind that point of focus that remains sharp. Your camera can only technically focus at one distance, and from there the sharpness fades into blurriness, both in front of and behind that point. How quickly it fades into blurriness is controlled by the aperture.
Very wide apertures (again, small number/large opening) have a narrow DoF. That means that when you focus on a single point there will only be a short distance in front of and behind that which will remain in focus. for example, with an aperture of 2.0 i can focus on kodiak's eyes and while they will be sharply in focus, his nose will be blurry.
Very small apertures have a much wider DoF. With an aperture of f/22, if i focus on kodiak's eyes, his nose will certainly be in focus. so will the fence behind him and probably the hospital across the street.
Not making any sense? How about a visual?
Let's start with f 2.0; this is a wide aperture and therefore a narrow depth of field

first we focus on Ms. Scarlet here in the front. as you can see, Mrs. Peacock is blurry, and Col. Mustard is blurrier yet. That's because the focus is in the front, and the subjects get blurrier the farther they are from the plane of focus.

now, if we focus on Mrs. Peacock, the focus is in the center and both Ms. Scarlet and Col. Mustard are equally blurry as they are both equal distance from the plane of focus. (more or less, i didn't bother with the ruler)
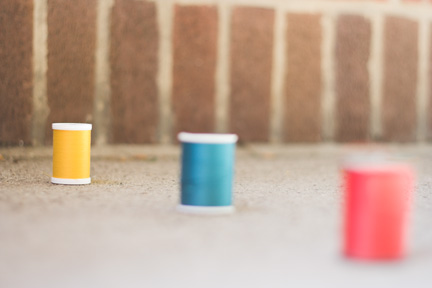
and lastly, focusing on Col. Mustard gives us the exact opposite of the first photo. In this case, Ms. Scarlet is the blurriest since she is the farthest from the plane of focus.
Now lets look at a small aperture, f 22, which gives us a much wider DoF.

focused on Mrs. Peacock
focused on Ms. Scarlet
focused on Col. Mustard
As you can see, it doesn't really matter who I focused on. At such a small aperture, all three of them are in focus, regardless of where the actual plane of focus was.
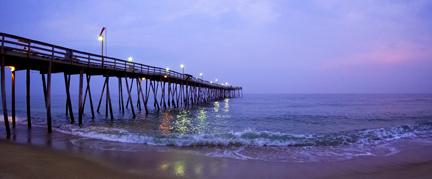
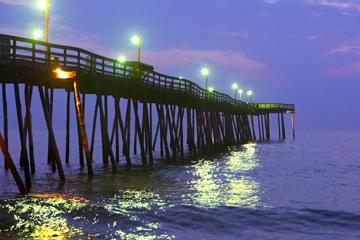
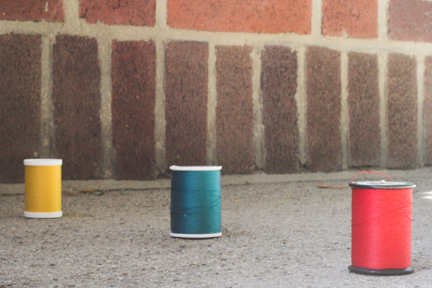
Your depth of field is also determined by how far away you are from whatever you focused on. in the following two images, Col. Mustard remained in the same place, only the camera moved. the aperture was f 2.0 for both pictures.

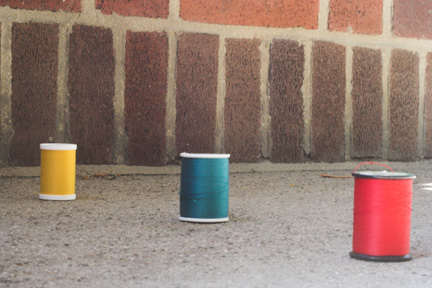
Notice in the first picture that the brick in the background, while still recognizable, is pretty blurry. In the second picture, even though the distance between the wall and Col. Mustard hasn't changed, the brick is much clearer. This is because in the first picture the two distances are almost equal, whereas in the second picture the wall is much closer to the Col. than the camera was.
So depth-of-field refers to how much of the image is in focus. what about the part that's not in focus? that, my friends, is bokeh. and
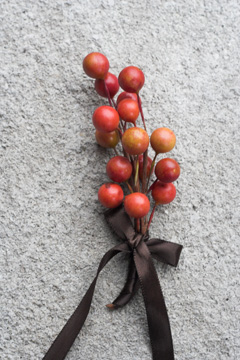
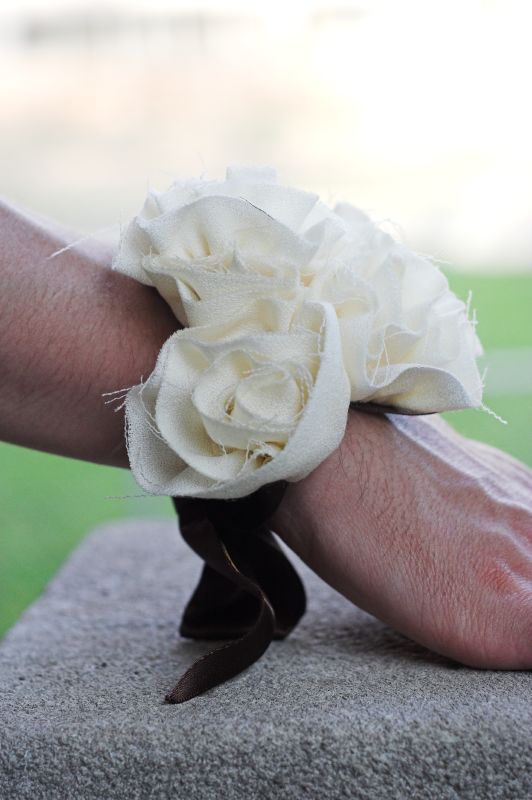
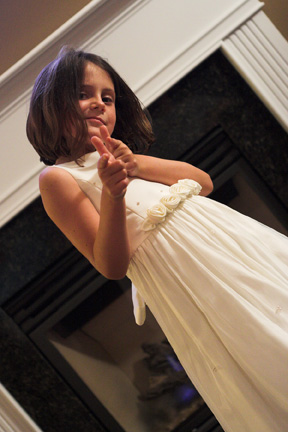
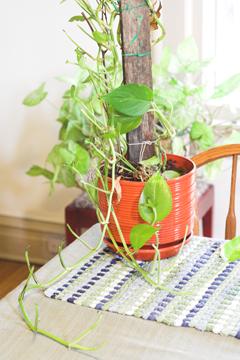
that is my favorite part of photography. bokeh is that beautiful blurry background you get with a wide aperture.
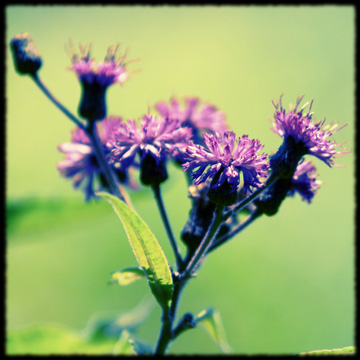
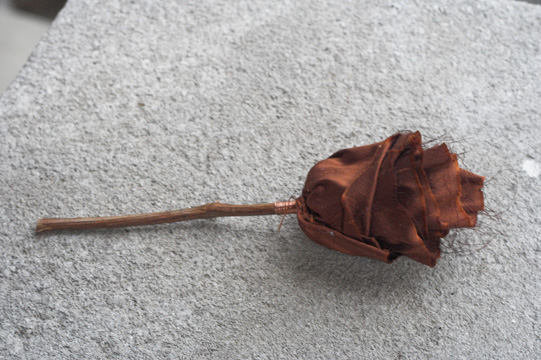
the area behind this flower was all sorts of bushes, grasses, and plants. had i used a smaller aperture, it would have been visible and very distracting. but by opening up to a wider aperture, it all blurred out into a soft, green haze.
the point...
if you're wondering what all this means to you, here's how to apply it to your pictures.
- if you want a nice blurry background, you need a wider aperture
- for more blur, move your subject farther away from whatever is in the background and move closer to your subject.
- if you are taking a picture of two kids (for example) and one is sitting slightly in front of the other, you may need to stop down a little bit (one or two f-stops) so that both subjects are in focus.
um, yeah. that's all i can think of to say about aperture and DoF for now. Here's something to ponder until next time. If you think you know the answer, feel free to chime in. What if you have decided an aperture of f 2.8 gets you the nice blurry background you want when taking pictures of your little one(s), but your exposure meter says that such a wide aperture will cause your picture to be terribly overexposed. What to do?
p.s. Canon, don't forget to send me that 24-70mm L lens to review. Canon? Can you hear me??
Proceed to
#5 Shutter Speed and Motion Blur
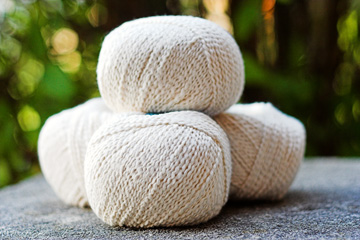
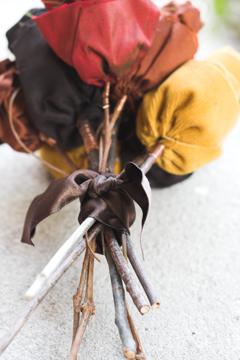
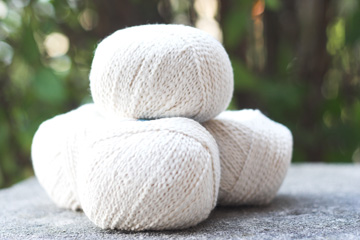
 nothing to indicate scale, but its substantially larger than the other options
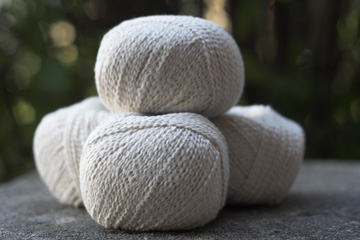
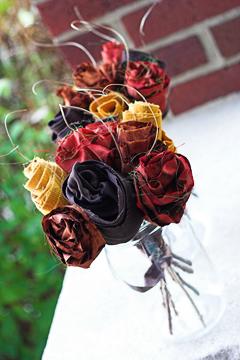
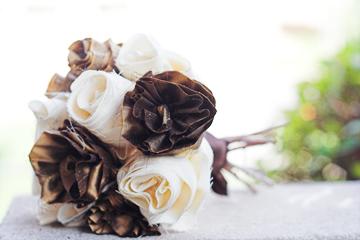
 i saw a bout using a pine cone on the wedding style website and it was cute, though rather cumbersome. so i was delighted to find that one of the fall "packs" i got at JoAnn's had wee little pine cones in it. they are quite cute, you know, for a pine cone.